Melodic Aromas: Merging the World of Manna Scented Candles with LoFi Music
I. Introduction: The Harmony of Scent and Sound Discover the unique blend of sensory experiences with Manna Scented Candles and

DIY projects are a fantastic journey of creativity and accomplishment. For those who relish in crafting something with their own hands, the joy of creation is unparalleled. And what better way to express this creativity than through the art of candle making? Simple, fun, and immensely satisfying, making candles is an accessible craft for everyone.
The beauty of this activity lies in its versatility – whether you’re using tin cans, fancy jars, or any other container, the possibilities are endless. Let’s dive into the world of candle making and explore how you can make your very own candles.

To embark on your candle-making adventure, you’ll need a few essential supplies.
Supplies List:
Choosing soy wax is a great eco-friendly option, and the fragrance oil adds a personal touch to your creation.
Start by preparing a clean, flat surface in a well-ventilated area. Cover the workspace with newspapers or paper towels to catch any drips or spills. Clear the area of any items you don’t want to accidentally get wax on. This prep step ensures a smooth and hassle-free candle-making process.
First, measure your wax. You’ll need double the amount of your container’s capacity. Place the wax in the double boiler and let it melt over medium heat, stirring occasionally. This process should take about 10 to 15 minutes. Keep an eye on the wax as it melts to avoid any overheating.
Once the wax is melted, it’s time to stir in the fragrance oil. Check the instructions on your wax package for the recommended amount. Adding fragrance is optional, but it can create a delightful aroma for your candle. You can also add color at this stage if you desire.
Let the wax cool for a few minutes after melting. When it reaches about 140 degrees Fahrenheit, it’s ready to be poured. Gently pour the wax into your container, ensuring the wick stays centered. Keep a small amount of wax in the boiler for later use.
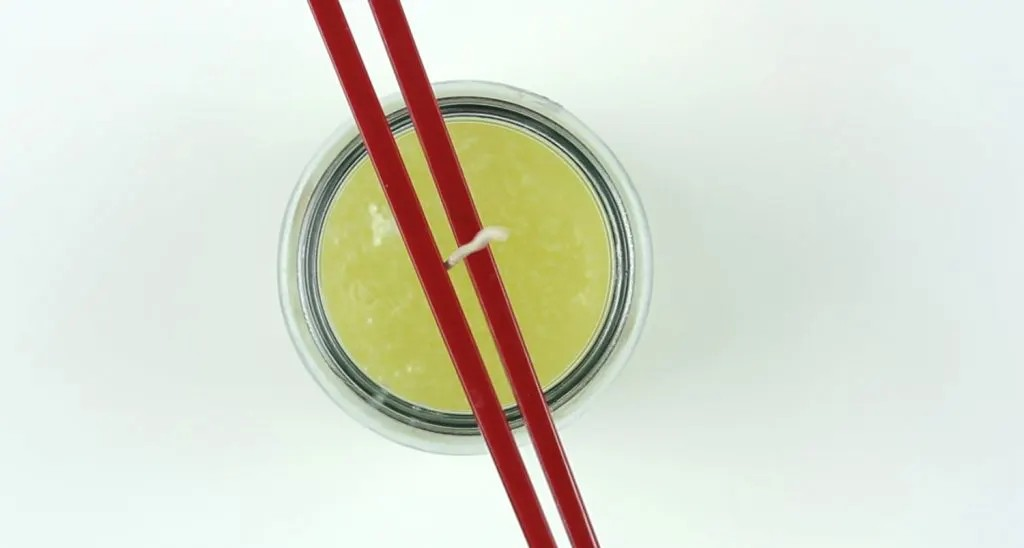
To keep the wick upright and centered, lay two chopsticks across the top of the container and sandwich the wick between them. Let the wax set for about four hours at room temperature to ensure it hardens evenly.
If your candle has any imperfections like cracks or holes after setting, simply reheat and add the remaining wax. Once fully set, trim the wick to about half an inch. This step is crucial for ensuring your candle burns evenly and safely.
Congratulations on completing your candle-making journey! Remember, the process of learning how to make candles is as important as the final product. Your first candle might not be perfect, but it’s a step towards mastering this delightful craft.
Feel free to experiment with designs, scents, and even turning your candles into beautiful gift sets. For more advanced tips and ideas, check out this comprehensive guide from ProFlowers.com, and don’t miss the insightful YouTube video from Cutesy Crafts, which we’ve embedded for you. Keep exploring and refining your candle-making skills!
I. Introduction: The Harmony of Scent and Sound Discover the unique blend of sensory experiences with Manna Scented Candles and

I. Introduction Scented candles have become increasingly popular for their ability to enhance mood and well-being. In today’s fast-paced world,